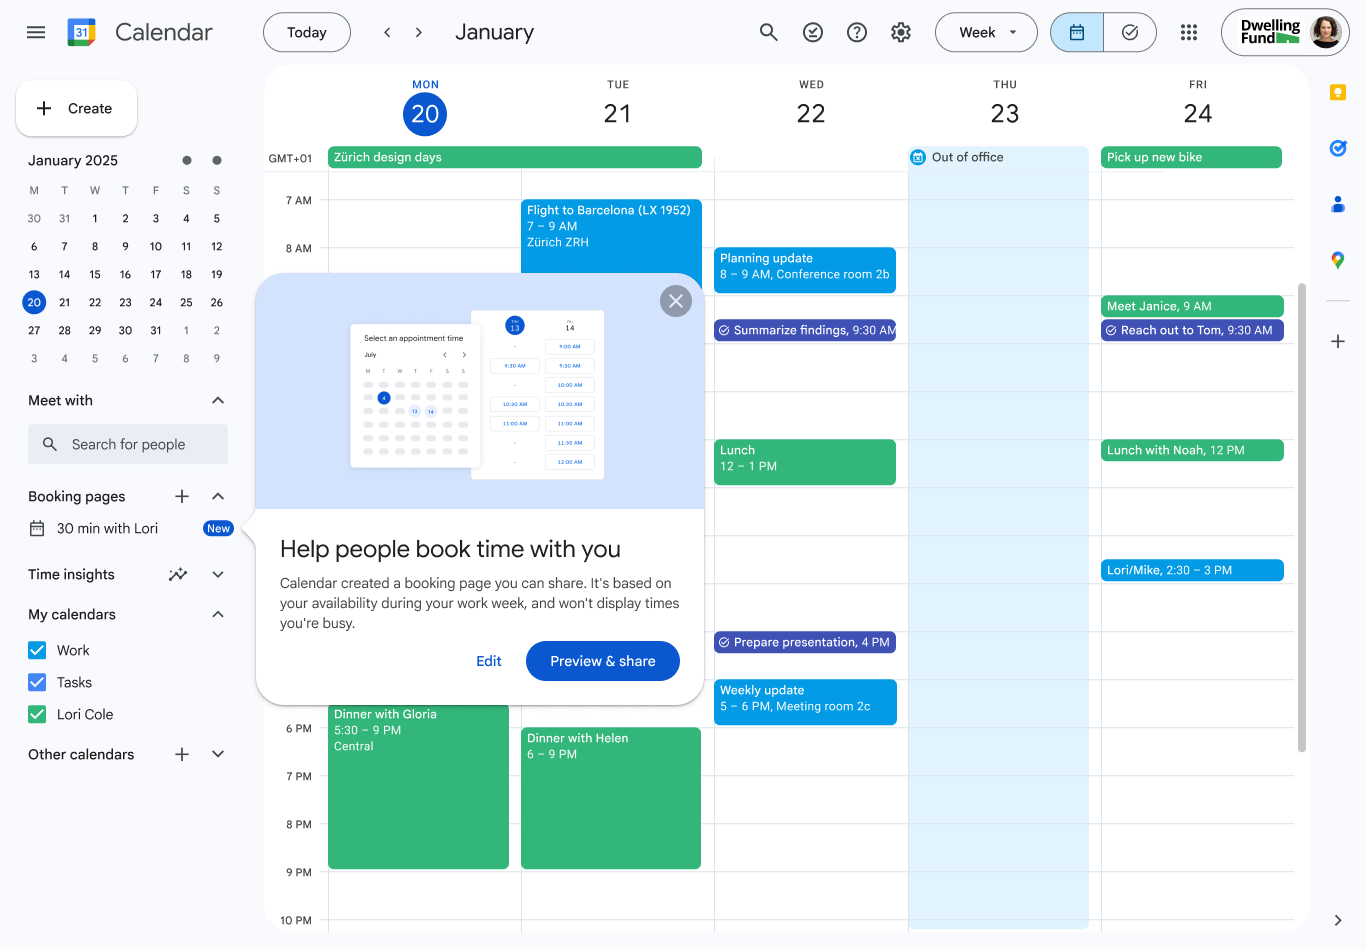
Last year, we discussed how Google Calendar’s booking links would replace third-party booking apps, with the exception of a few items. Those few items seem to be covered with new updates, including having multiple co-hosts for meetings. You can now do almost everything you would do with Calendly, including accepting payments for appointments.
Creating and Marking Off Your Appointment Schedule
Go to calendar.google.com and hit the “Create” drop-down on the top right. Select “Appointment Schedule.” Then, walk through the prompts to create your personal appointment schedule. One step you don’t want to miss, because it’s tough to do later, is to add a co-host to your page. This should be someone who will cover for your meetings in your absence.
Once your appointment schedule is created, you can open it by clicking on “<your first name>’s Appointment Schedule” at the top of each day on the calendar. You can then block off days you aren’t working, or individual days/times based on your availability. Any meeting that shows up on your calendar or out-of-office notification also blocks off your appointment schedule at the appropriate time.
Getting and Using Your Booking Link
While on your Appointment Schedule page, click “Share” at the top right. You’ll be presented with the option to have a link or to get website embed code. To insert it in your signature file, copy the link, then head over to your settings in Gmail under Settings→ General to add it to your signature.
If you want to embed it in a website on a general contact page, make sure you’ve given co-hosts access to your page. If you didn’t do it at setup, hit “Edit” on your Appointment Schedule page and scroll all the way down to the bottom to add co-hosts.
With one of Google’s new updates, you don’t even need to have the appointment schedule page set up to share your availability, but we highly recommend it. Same goes with adding your link to your email signature - you can choose to insert it in specific emails if you don’t want your booking link shared with every single person you email.
And since Google is all about security, it even verifies emails to prevent spam bookings - something we all know can be a headache if you make a booking link public on a website.
Adding Appointment Schedules to Secondary Calendars
In the past, we’ve recommended creating a master Google Calendar if you’re working with multiple Google Calendars. Many people, for example, have a personal Google Calendar for home and family and another one they may use for work. Now, most paid users on a Business plan for Google Workspace have the option to add their appointment schedule to secondary calendars, making this suggestion obsolete.
These updates and features make Google Calendar’s Appointment Scheduling functions as good as the regular usage of most booking and scheduling apps. The only reason not to switch is if you have integrated them deeply within other solutions. If it’s just a matter of swapping out code on your website for your new Appointment Scheduling page, that’s not tough to do.
One of the fantastic things about being in the Google Workspace ecosystem is that Google is almost always rolling out something useful for us. While something like an appointment booking feature seems minor, add up per-user charges for a similar service in a larger company and you’ll come up with significant cost savings.
All of the AI features that Gemini has to offer have seriously expanded the power of Workspace apps by allowing you to do things like auto-create videos, content, and create presentations that look as polished as the ones that a graphic designer could create for you.
Contact us to find out how we can convert your business to Google Workspace power users as a Google Premier Partner.
Contact Us to Learn More about Transforming Your Business

